
For those eager to witness the marvels of celestial events like solar eclipses without risking eye damage, crafting a simple pinhole projector offers a safe and accessible solution. According to …
This item is available in full to subscribers.
Please log in to continue |
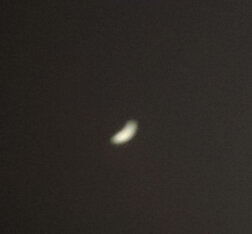
For those eager to witness the marvels of celestial events like solar eclipses without risking eye damage, crafting a simple pinhole projector offers a safe and accessible solution.
According to NASA, although the eclipse is marvel and a wonder to behold, safety should remain the No. 1 priority. This tutorial provides step-by-step instructions for creating and using a DIY pinhole projector, ensuring a memorable viewing experience while prioritizing safety.
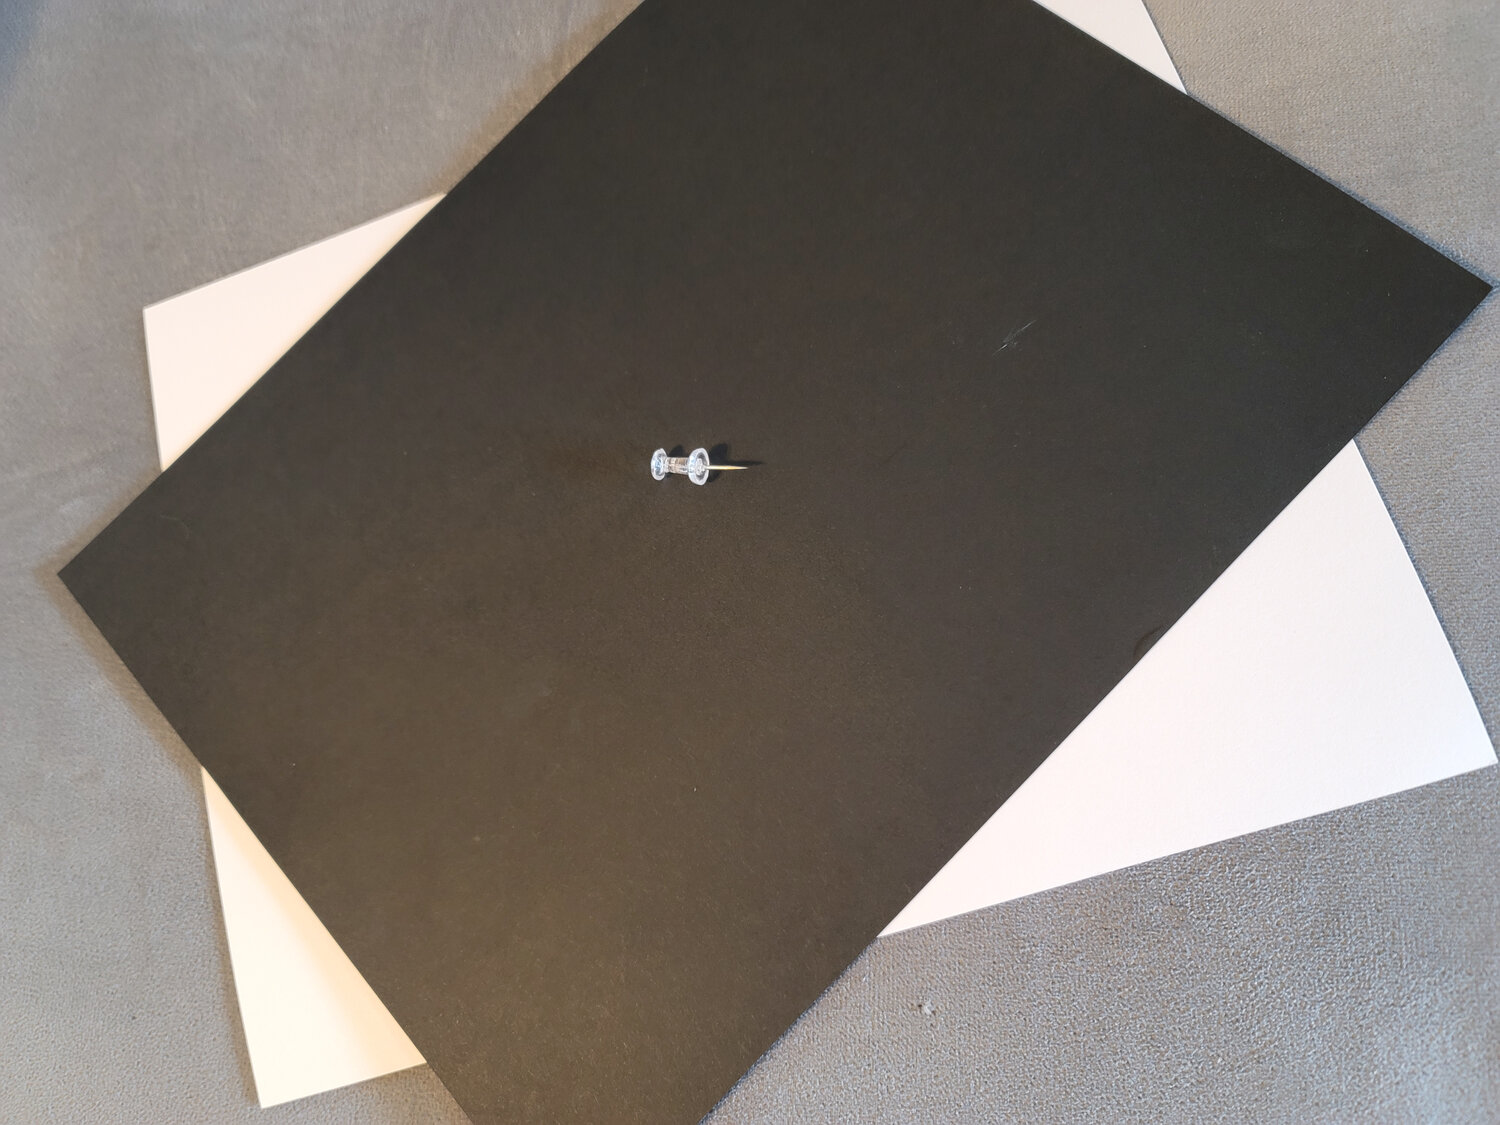
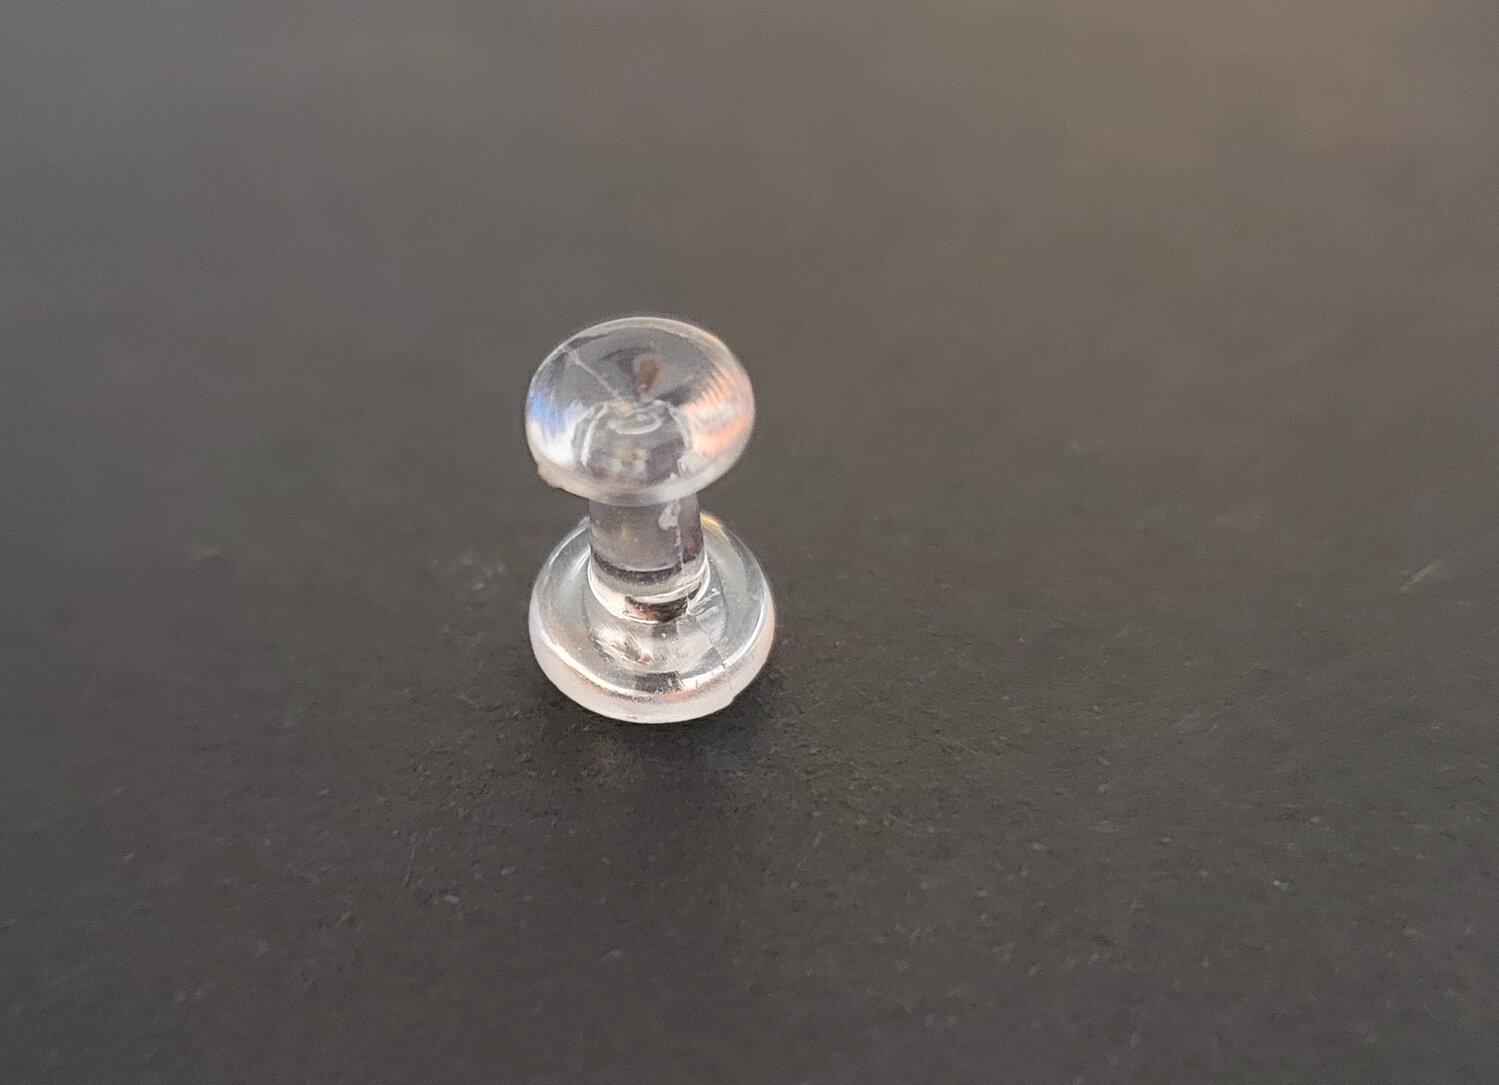
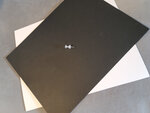
Materials needed:
Instructions:
Tip: If you have one handy you can use an easel to hold your projector (the sheet with the hole) in place. Just keep in mind not to block the lens (the hole) of the projector. You can also use an easel or chair to prop the screen (the sheet without the hole) on.
Important safety reminder:
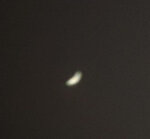
Always maintain your back toward the sun while using the pinhole projector to avoid direct exposure to sunlight, which can cause eye damage. Also, make sure to wear sunscreen and stay hydrated if you plan to be outside for a length of time. By following these simple steps, you can safely and effectively view the Sun's activities, whether it's a solar eclipse or a routine observation of our nearest star. Enjoy the wonders of the cosmos responsibly with this DIY pinhole projector.
Tip: Also check out shadows made by leaves, your fingers, a kitchen colander and more. The eclipse is a fun time to observe how different the shadows look from everyday objects.


